Expert Paint Correction Techniques for Your Vehicle
- Brent Hill
- Apr 6
- 3 min read
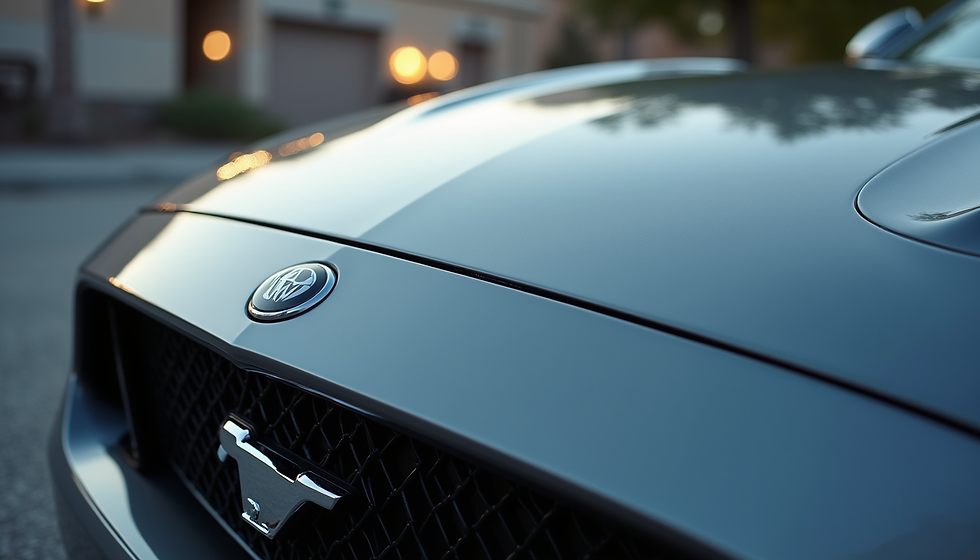
Maintaining the appearance of your vehicle is not just about keeping it clean; it’s about ensuring that the paint remains in pristine condition. Over time, your car's paint can suffer from scratches, swirl marks, and oxidation, which can detract from its overall look. Fortunately, paint correction techniques can restore your vehicle's finish to its former glory. In this blog post, we will explore expert paint correction techniques that can help you achieve a flawless finish.

Understanding Paint Correction
Paint correction is the process of removing imperfections from a vehicle's paint surface. This can include:
Swirl marks: Fine scratches that appear as circular patterns on the paint.
Scratches: Deeper marks that penetrate the clear coat.
Oxidation: Dullness caused by exposure to UV rays and environmental contaminants.
The goal of paint correction is to restore clarity and depth to the paint, enhancing the vehicle's overall appearance.
The Importance of Paint Correction
Investing in paint correction offers several benefits:
Enhanced Aesthetics: A well-corrected paint job makes your vehicle look newer and more appealing.
Increased Resale Value: A car with a flawless finish can command a higher price when it’s time to sell.
Protection: Correcting the paint can help protect against further damage by applying a sealant or wax afterward.
Tools and Products for Paint Correction
Before diving into the techniques, it’s essential to have the right tools and products. Here’s a list of what you’ll need:
Dual Action Polisher: This tool is ideal for beginners and professionals alike, as it reduces the risk of burning through the paint.
Polishing Pads: Different pads serve various purposes, from cutting to finishing.
Polishing Compounds: Choose compounds based on the severity of the imperfections. For example, a heavy-cut compound is suitable for deep scratches, while a finishing polish is ideal for light swirl marks.
Microfiber Towels: These are essential for wiping off residue and ensuring a smooth finish.
Step-by-Step Paint Correction Process
Step 1: Wash and Decontaminate
Before starting the correction process, thoroughly wash your vehicle to remove dirt and grime. Follow these steps:
Use a pH-balanced car shampoo.
Rinse the vehicle thoroughly.
Use a clay bar to remove embedded contaminants like tree sap and industrial fallout.
Step 2: Inspect the Paint
After washing, inspect the paint under good lighting. This will help you identify the areas that need correction. Use a paint depth gauge if necessary to ensure you don’t remove too much clear coat.
Step 3: Choose the Right Compound and Pad
Select a polishing compound and pad based on the severity of the imperfections:
Heavy-Cut Compound: For deep scratches and heavy swirl marks.
Medium-Cut Compound: For moderate imperfections.
Finishing Polish: For light swirl marks and to enhance gloss.
Step 4: Start Polishing
Apply Compound: Apply a small amount of compound to the pad.
Set the Polisher: Start with a low speed to spread the compound evenly, then increase to a higher speed for cutting.
Work in Sections: Divide the vehicle into sections and work on one area at a time. Use overlapping passes to ensure even correction.
Check Your Progress: Wipe off the residue with a microfiber towel and inspect the area. Repeat if necessary.
Step 5: Finishing Touches
Once the correction is complete, it’s time to enhance the shine:
Use a finishing polish with a soft pad to refine the surface.
Apply a sealant or wax to protect the paint and enhance gloss.
Common Mistakes to Avoid
While paint correction can yield stunning results, there are common pitfalls to avoid:
Over-Correcting: Removing too much clear coat can lead to irreversible damage. Always start with the least aggressive method.
Using the Wrong Products: Ensure that the compounds and pads are compatible with your vehicle's paint type.
Neglecting Protection: After correction, always apply a protective layer to maintain the finish.
Maintenance After Paint Correction
To keep your vehicle looking its best after paint correction, follow these maintenance tips:
Regular Washing: Use a pH-balanced shampoo and avoid automatic car washes that can cause scratches.
Use Quality Wax or Sealant: Apply a high-quality wax or sealant every few months to protect the paint.
Avoid Direct Sunlight: Whenever possible, park in shaded areas to prevent UV damage.
Conclusion
Paint correction is an essential process for maintaining the beauty and value of your vehicle. By following expert techniques and using the right tools, you can achieve a flawless finish that will turn heads. Remember to invest time in proper maintenance to keep your car looking its best for years to come. Whether you choose to tackle paint correction yourself or hire a professional, the results will be worth the effort. Start your journey to a stunning vehicle today!


Comments